Resources
Guides, manuals, and support materials for your Impulse Cooktop.
Guides, Links & Tools
Quick Start Guide
Everything you need to get your Impulse Cooktop up and running from day one.
Installation Guide
Step-by-step instructions for installing your Impulse Cooktop safely and correctly.
User Guide
A complete reference for the Impulse Cooktop user interface and cooking modes.
Use & Care Manual
Best practices for daily use, maintenance, and keeping your cooktop in top condition.
Troubleshooting Guide
Diagnose and resolve common issues with your Impulse Cooktop quickly.
Privacy Policy
How Impulse Labs collects, uses, and protects your personal information.
Warranty & Terms of Use
Your warranty coverage, terms of use, and what is included with your purchase.
Open Source License Library
A full list of open source packages used in Impulse hardware and software, with their licenses.
Pan Library
Browse cookware compatibility and find the best pans for your Impulse Cooktop.
Installer Toolkit
Everything an installer needs — cutout specs, electrical requirements, oven compatibility, and step-by-step guidance.
Videos
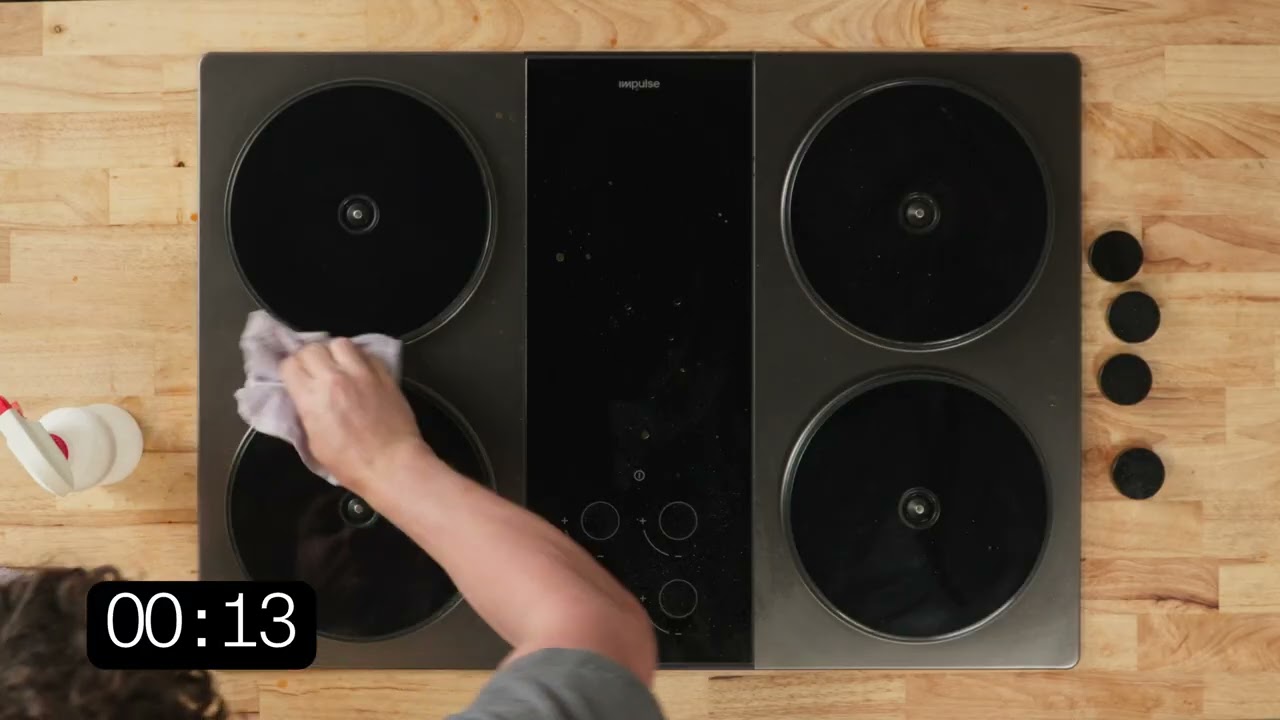
Installation FAQs
Software Release Notes
Redesigned Interface
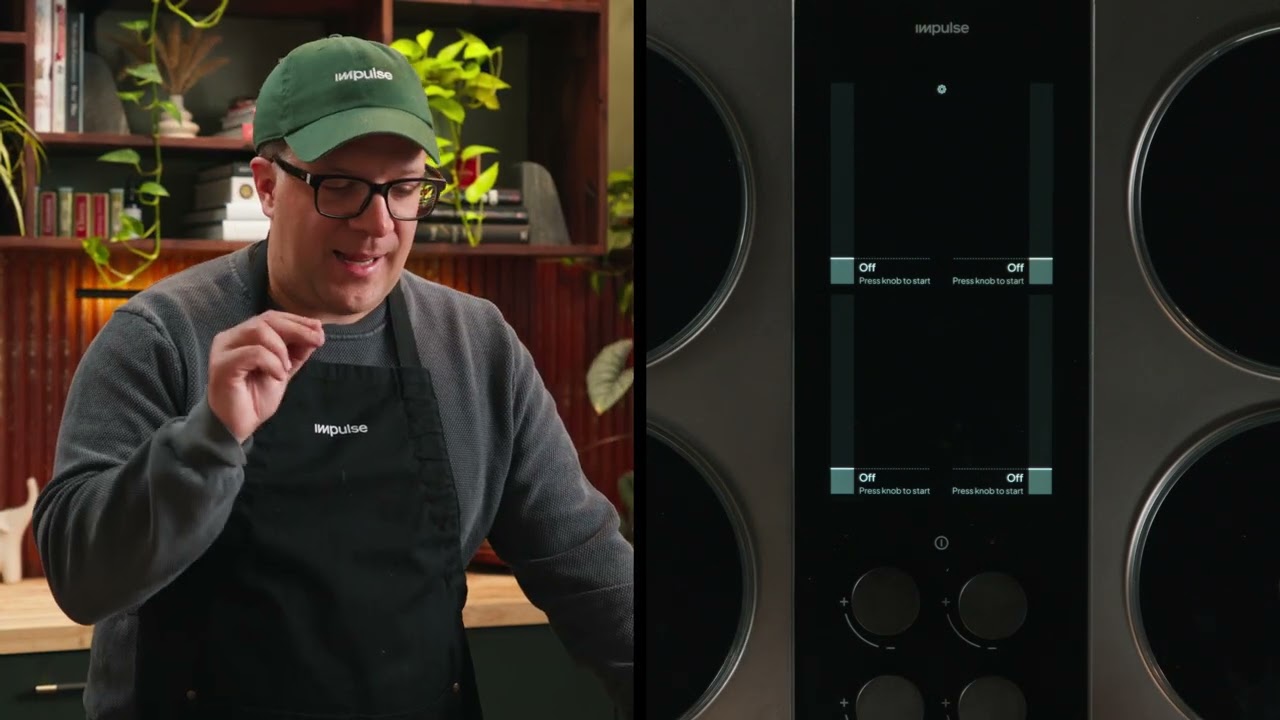
The display has been reorganized into three dedicated areas so the information you need is always where you expect it.
- System Bar for battery status, Wi-Fi, and system notifications
- Cooking Area for active cooking
- Burner Dock where each burner always displays its current temperature, active power, timer, and burner-specific notifications
This new layout gives every type of information a consistent home, making the cooktop easier to understand at a glance.
New interaction model
Additional features are now accessed by pressing and holding any knob to open the new Menu.
From there, you can access the Timer. When all burners are off, you'll also be able to enter the full Settings menu.
Per-Burner Timers
Every burner now includes its own independent timer.
To start a timer:
- Press and hold the knob.
- Select Timer.
- Choose a duration.
By default, the timer behaves like a traditional kitchen timer. Simply choose a duration and continue cooking—the menu will automatically close after a short time.
You can also choose an after-state:
- Keep Warm (approximately 160°F)
- Room Temperature
After the timer finishes, you'll hear an audio alert and the LED ring will briefly flash to get your attention. The timer then automatically begins counting elapsed time, making it easy to see how long it's been since the timer completed. Press the knob to dismiss the elapsed timer.
Timers can also be used even when a burner isn't actively cooking, making them useful for timing the oven, resting food, or tracking other steps in your recipe.
Easier to Understand While Cooking
The cooktop now does a better job of explaining what's happening while you cook.
- System information—like Wi-Fi, battery status, and software updates—appears in the System Bar.
- Cooking information appears alongside the burner it affects.
Whether the cooktop is optimizing cooking performance, balancing available power, or needs your attention, notifications now provide clearer explanations about what's happening and why.
Battery Status
The battery is now always visible in the System Bar, giving you a quick sense of how much energy is available while you cook.
Rather than displaying a constantly changing battery percentage, the cooktop uses a simple battery icon that's easy to understand at a glance. If the battery reaches a low level, the cooktop will let you know.
Charge Now
Charge Now lets you begin charging immediately whenever you choose.
It's especially useful if you're preparing for a large meal, want to top off the battery before cooking, or would like to take advantage of lower electricity rates or available solar energy.
To recharge the battery immediately, open Settings → Power & Battery and select Charge Now.
Charging Preferences
Charging Preferences replace the previous Scheduled Charging feature, redesigned to give you more flexibility while reducing the amount you need to manage.
Instead of selecting a single charging time, you can now define Charging Windows throughout the day. This makes it easier to match your charging schedule to time-of-use electricity rates, rooftop solar production, or your daily routine.
Battery Reserve has also been redesigned. Rather than selecting an exact battery reserve percentage, simply choose one of three options:
- Low — Maximizes battery utilization before recharging.
- Balanced — Recommended for most households. (Default)
- High — Keeps more energy available throughout the day for larger cooking sessions or greater backup readiness.
Impulse automatically manages charging behavior based on the preference you choose.
You can continue to customize your Maximum Charging Speed. Higher speeds recharge the battery more quickly, while lower speeds reduce electrical demand and may also reduce charging fan noise. The minimum setting is 4 amps, while the maximum depends on whether your cooktop has a 120-volt or 240-volt connection.
Choose the behavior that best matches your home and your energy needs, and Impulse automatically manages charging behind the scenes.
If you've previously configured Scheduled Charging, your charging preferences will be migrated to the new system.
- Your Charging Window will default to a 6-hour window beginning at your previous scheduled charging start time.
- Your Maximum Charging Speed will remain the same as your previous maximum charging current setting.
- Battery Reserve will be reset to Balanced, our recommended default for most households.
You can update any of these preferences at any time under Settings → Power & Battery.
Software Updates
Your cooktop continues improving through software.
New in this release, you can also view release notes directly on your cooktop. Open Settings → Software → Release Notes to see what's included in your current software version at any time.
Also Included
This release also includes numerous reliability improvements, performance enhancements, and bug fixes throughout the software.